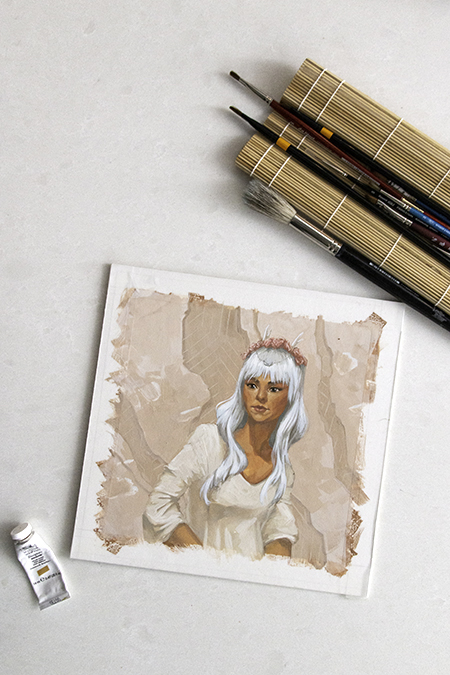
For this example, I’m using a painting I did at a live model session.
Okay, this is a quick one this week, and it has to do with presentation. It’s mostly for the water-based painters and/or anyone who works on illustration board or paper rather than canvas. Just a little bit of attention to detail can make your pieces look instantly more professional. Plus, this technique helped stop me from continuing to mess with my art, letting me appreciate that done is better than perfect.
When I went to school, I had one teacher who was a stickler for presentation. Every assignment needed to (rightly) be turned in as though we were handing it to a paying client. It was a good practice to get into as a student and helped me be more confident in my work. It didn’t come without frustration, though. There was one day where I was still awake at four in the morning, tearing off my third failed attempt at shrink wrapping a charcoal drawing. One my hairs- probably shed from stress- kept sneaking past me and getting stuck under the plastic. Is this my life now? I kept thinking as I messed up something so simple over and over. Have I entered some Sisyphean purgatory where I will never get this assignment ready to hand in?
I’ve never had to plastic wrap a drawing again- but that’s mostly because I have not been selling charcoal works and I have other means of protecting my paintings and drawings. But I’m going to teach you the thing I still do to every one of my paintings that immediately makes it look more finished.
So Here’s What You Need:
Yeah, that’s it. I can hear some of you gasp because Magic Tape is not acid-free. I make sure not to leave it on for more than a week. The tape goes on before I start a painting, and it comes off the moment I’ve finished. If I’m working on a painting that I need to walk away from or it’s a longer process, I’ll use an acid-free artist’s tape instead.
When I tape the edges of my illustration board, I get a nice, clean line around my art. It also gives me a place to handle the board. I’m not risking smearing the paint and I’m not getting my greasy dirty fingers on anything.
I found Magic Tape creates a better seal than painter’s tape and comes off cleaner than masking tape. Line it up on the paper and press the edges well. You can use a bone folder to press it if you’d like to really seal the ends of the tape down. I might do this if I’m using more watery gouache or watercolor, but for my usual gouache paintings, I don’t need to go overboard.
Will It Tear My Paper?
Run a test before you commit. Different textures and finishes affect how easy or hard it is to remove cleanly, so grab some scrap and try it out. If you find it adheres too much to your paper, tap the adhesive side onto a clean surface a few times to make it less sticky. I’d recommend against using your clothing or jeans or anything where fibers are going to adhere to the tape. Choose a clean table or a cutting mat.
When you remove the tape, pull slowly. Try it at both a 90-degree angle and parallel to the tape itself, you might find one easier to control than the other. Enjoy the process!
Tape Saves Me From Perfectionism
It’s a little thing, but pulling off the tape when I’m done signals to me that I am finished with a piece. It lets my brain rest and I know that I don’t have to think about the piece anymore. If I leave raw edges on a painting, I’m going to be more tempted to fix one little thing. And then another. And another. And at a certain point, I’m just wasting time. That painting isn’t going to get exponentially better. Eventually, I have to declare it finished and move on to the next piece.
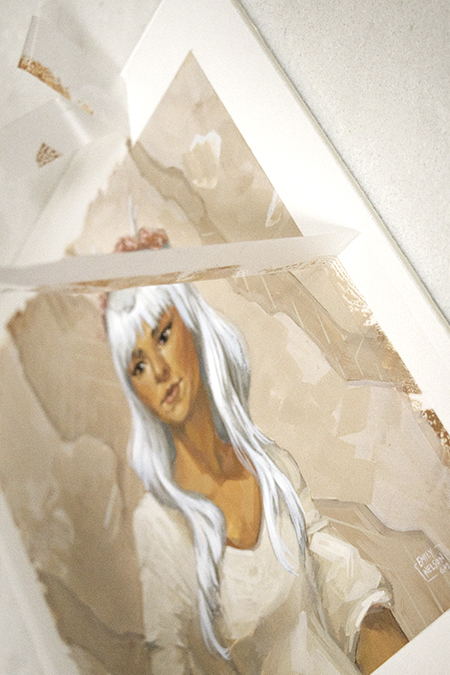
Check out the final result:
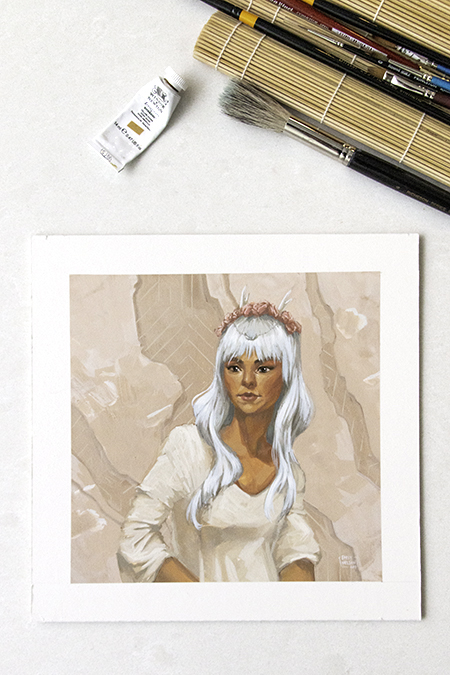
smooooooth lines
So clean and so satisfying! Maybe it’s a matter of preference and some of you like the rough edges on a painting. I think they can look great if it’s intentional and works with the piece. But those clean lines hit on something satisfying for me, so for the majority of my works, I’m tapin’.
Got any questions about presentation or painting? Drop me a line here or on my Instagram!
And if you’d like to learn more art techniques, I wrote a post about painting portraits from live models with my gouache portrait process.
Recent Comments